How to make (pottery)
Let’s learn about how to make (pottery).
As I mentioned in the page of History (pottery),
qualities and appearances of ceramics differ depending on the base material, firing temperature etc.
As for pottery, the main differences are caused by the characteristics of the clay.
Therefore, creators select clay very carefully and sometimes blend various types of clay to get unique textures they seek for.
However, the basic process to make pottery is the same.
Let’s get the picture of it.
Making process
Prepare dried clay
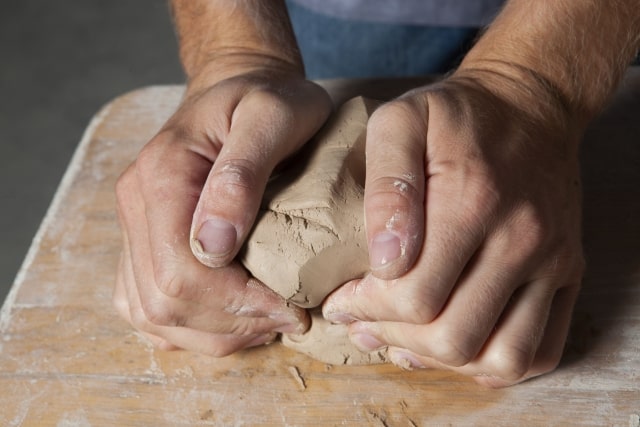
1. Firstly prepare dried clay. After adding some water, knead it with your hands.
- By touching it directly and kneading, you can easily find impurities such as pebbles.
- Remove them carefully so as not to hurt your hands.
- It is also important to eliminate all air pockets from the clay in this process.
Shape the clay
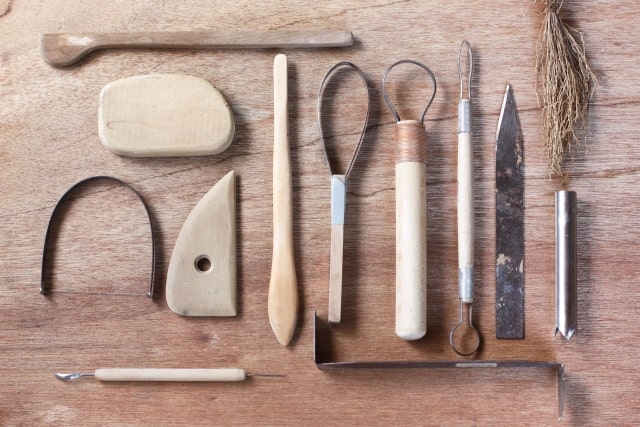
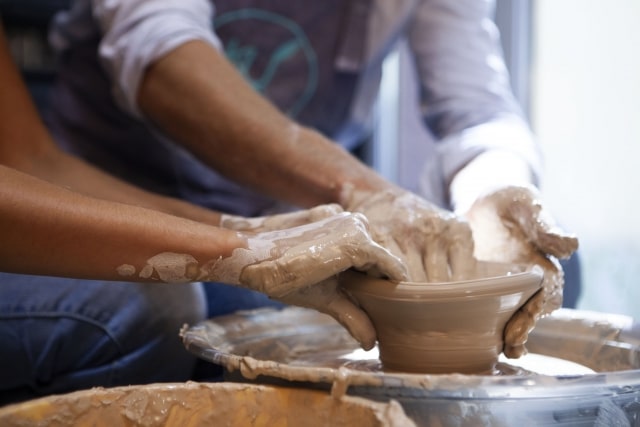
2. Next, shape the clay into whatever you like, such as a plate, cup, jar, etc.
- You can use a potter’s wheel depending on your preference. In the past, all the wheels were driven manually with hands or feet, but today, many potters use electric wheels.
Dry the work
3. Dry the shaped work naturally for about a week.
Bake in the kiln
4. When the work dries well, place it in a kiln and bake it.
- Usually, the temperature of the kiln is 700-800°C.
- This process is called suyaki (bisque firing).
Graze (if necessary)
5. The bisque fired work has a ginger color and rustic texture.
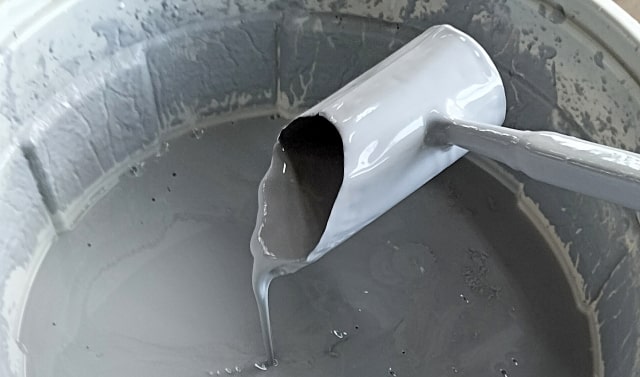
- Graze it depending on your preference to make the surface glossy.
Etsuke
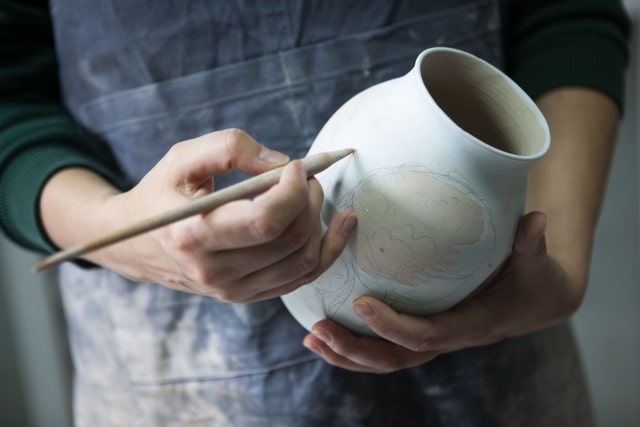
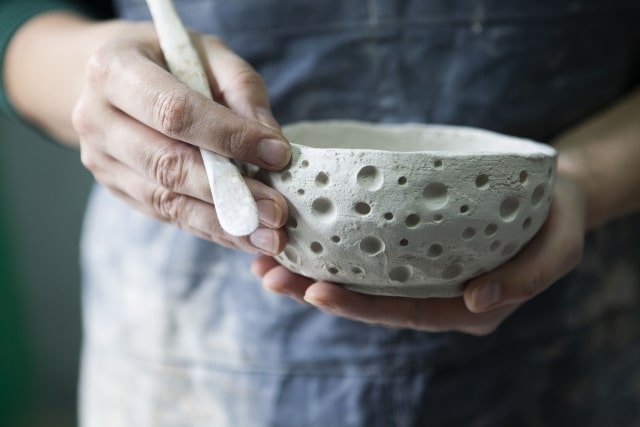
6. Press some patterns or draw pictures (etsuké) depending on your preference.
Final baking
7. Finally, place the work in the kiln at 1200-1300°C and bake it for two or three days.
- It is important to keep the temperature high throughout the baking.
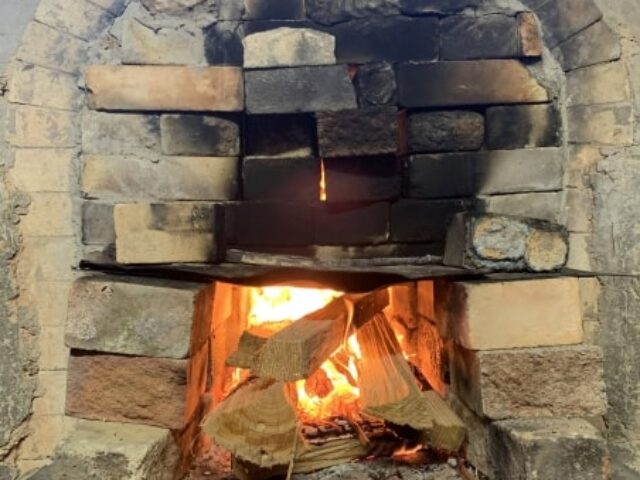
<Nobori gama>
Sometimes, a step-like kiln built from clay on sloping ground. As the heat of the fire burning at the bottom of the chamber is conducted to the upper part of the kiln, a large number of pieces can be fired efficiently at once.

